Hikers fall victim to hiking! Is this activity actually dangerous? Recently, we were in Germany, in hiking circles, and everyone was telling us that they had heard or read that hikers in Greece either get lost or die! What is happening? With a quick internet search, hundreds of articles have appeared recently talking about visitors
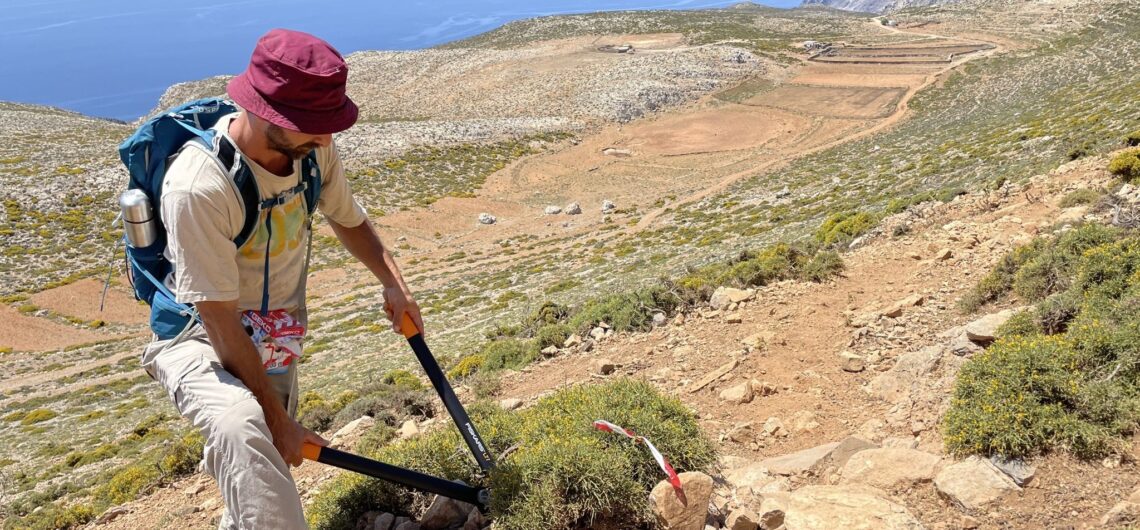
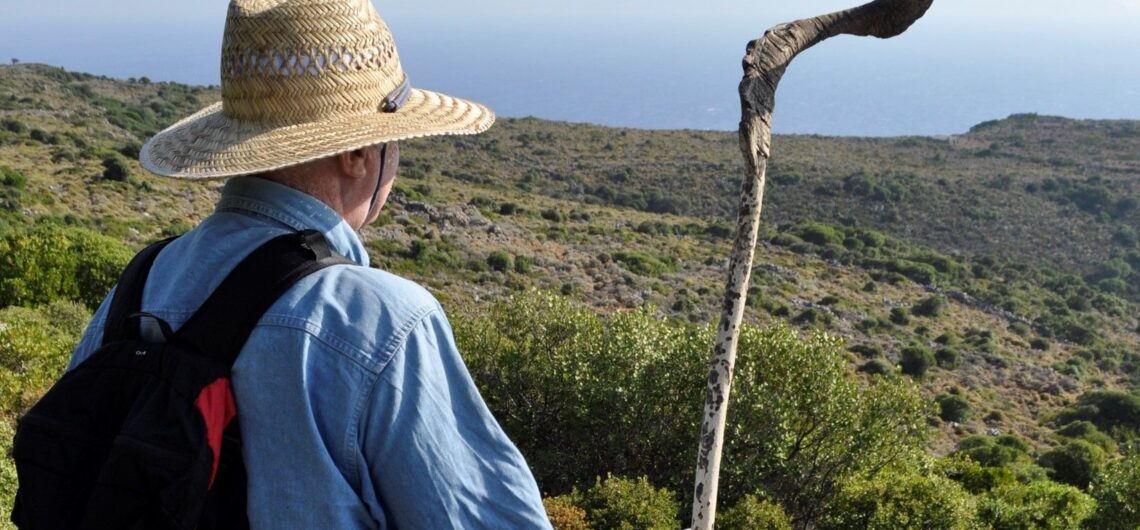
Interviewing the member of Paths of Greece, Antonis Panou, about the maintainance of hiking paths Antonis Panou is a member of Paths of Greece and specializes in waymarking and maintaining hiking paths. He has been part of our team for about 5 years and has traveled all over Greece in order to implement hiking
Getting to know the Central European Trail Waymarking Reading the entire article takes about 8 minutes. Alternatively, you can continue directly to the conclusions by clicking here. “They know better abroad!” “I’ve walked the Alps and I know!” “What are the European standards?” “Let’s get the Austrians to show us how it’s done!” These and
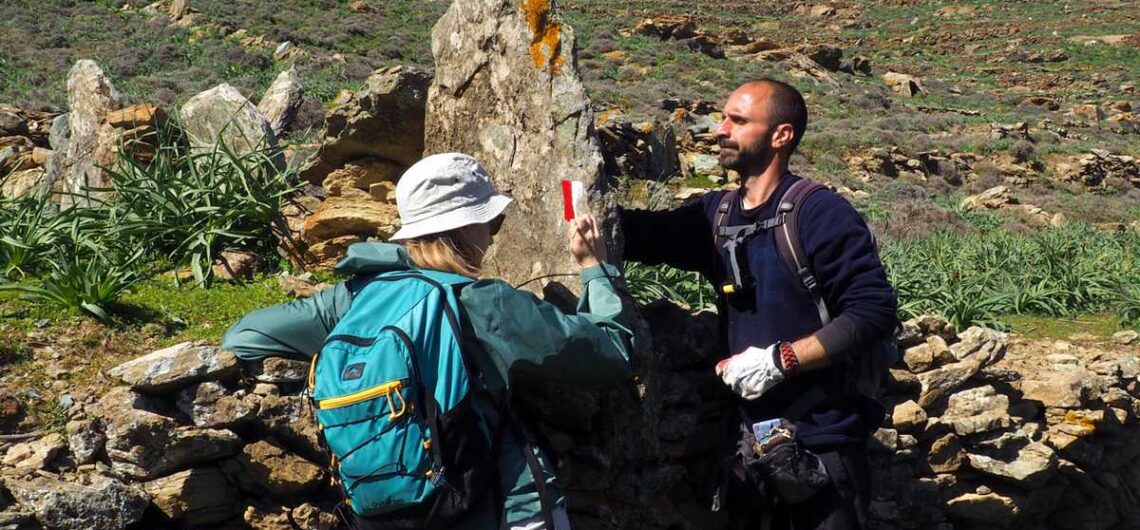
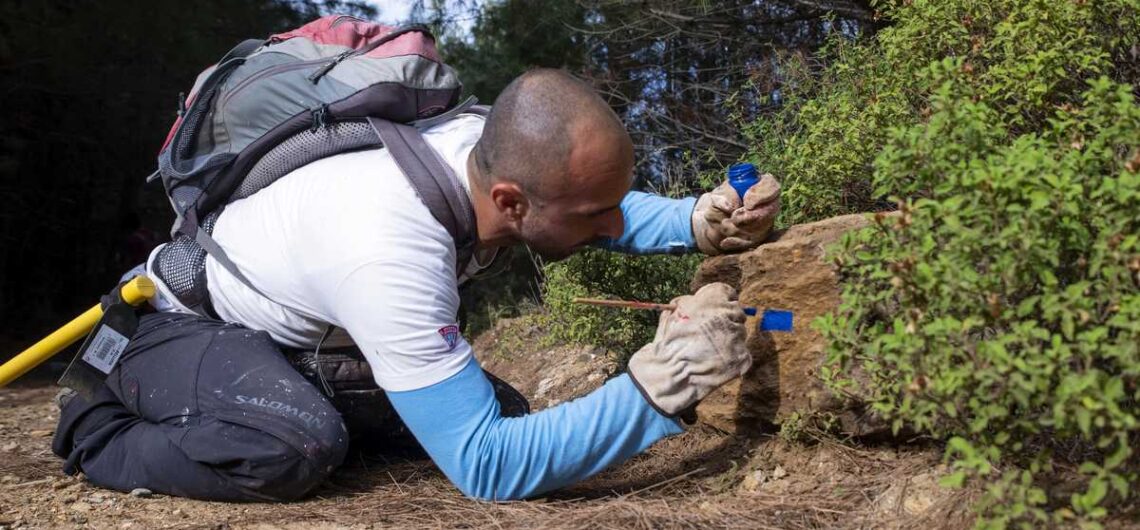
Trail Waymarking by Paths of Greece As mentioned in the previous posts, the trail waymarking we use in our hiking networks can be divided into the following categories. Direction waymarking by color Direction waymarking with color, is done by applying color to suitable surfaces within the route and follows a specific typology. Its purpose
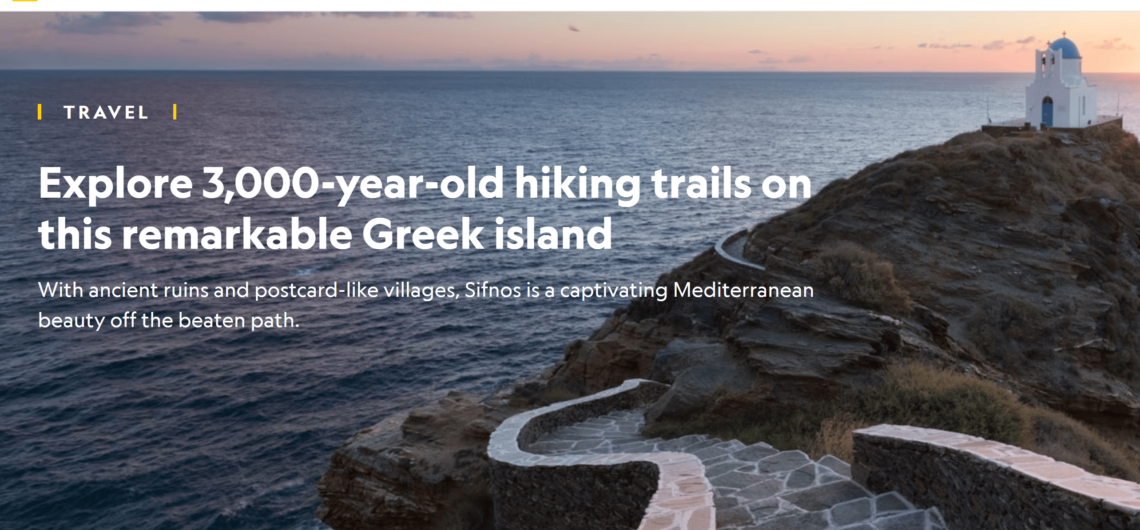
Paths of Greece on National Geographic! Our work with the trails of Sifnos has attracted National Geographic reporter Chloe Berge, who visited the island and wrote a beautiful article about the trails of the island. We are all excited to see that one of our oldest projects is being recognised and admired after about a decade! This means
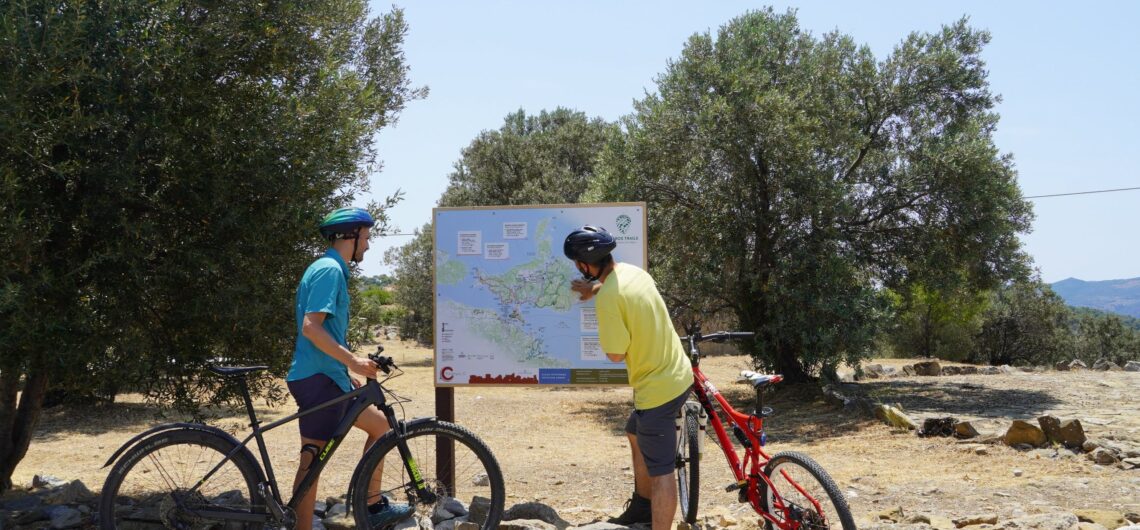
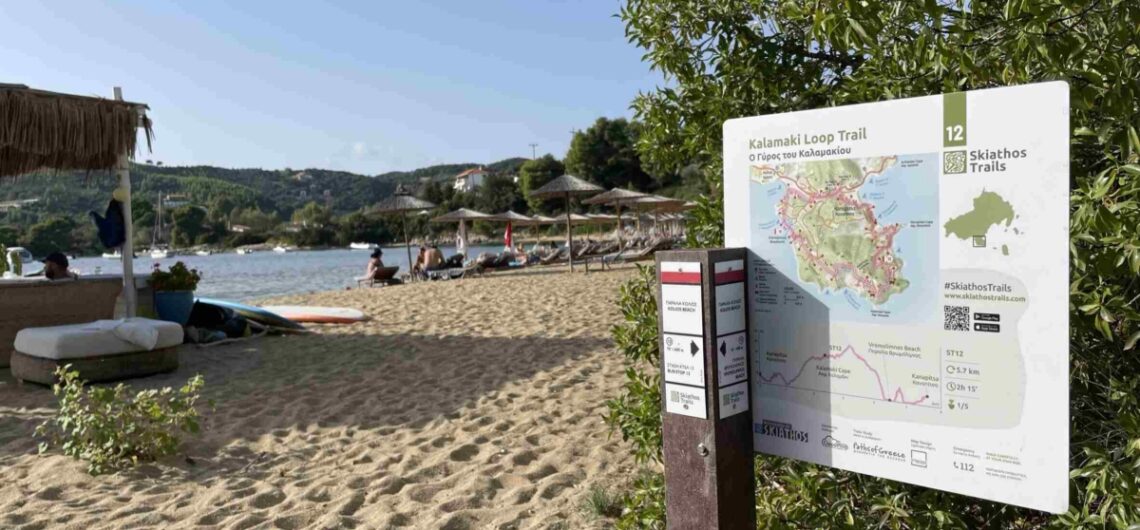
Marking of footpaths with central signs Central trail signs are large in size and act as a summary, presentation and promotion of an area’s hiking and cycling network. They are placed in central, high-traffic areas and are intended to make the hiking experience more accessible for visitors. Contents of central signs The main theme
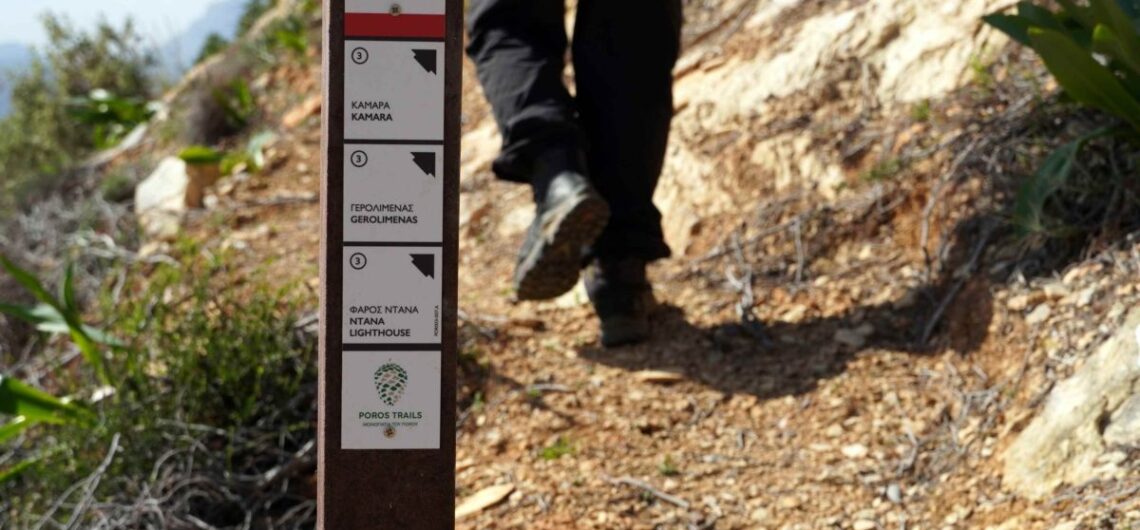
Marking paths with entry signs Marking with entry signs is required for all trails. These signs are used at the entry of each route, in locations such as town squares. They can improve the experience of hikers as well as attract new inexperienced people. Contents of entry signs Trail entry signs must provide all useful
Trail directional signs The signage we use at Paths of Greece can be divided into three main parts: marking with colour, which indicates the direction of the route. We have mentioned it in previous blogs. marking with directional stakes and information signs. In this article we will refer to trail directional signs. Contents of directional
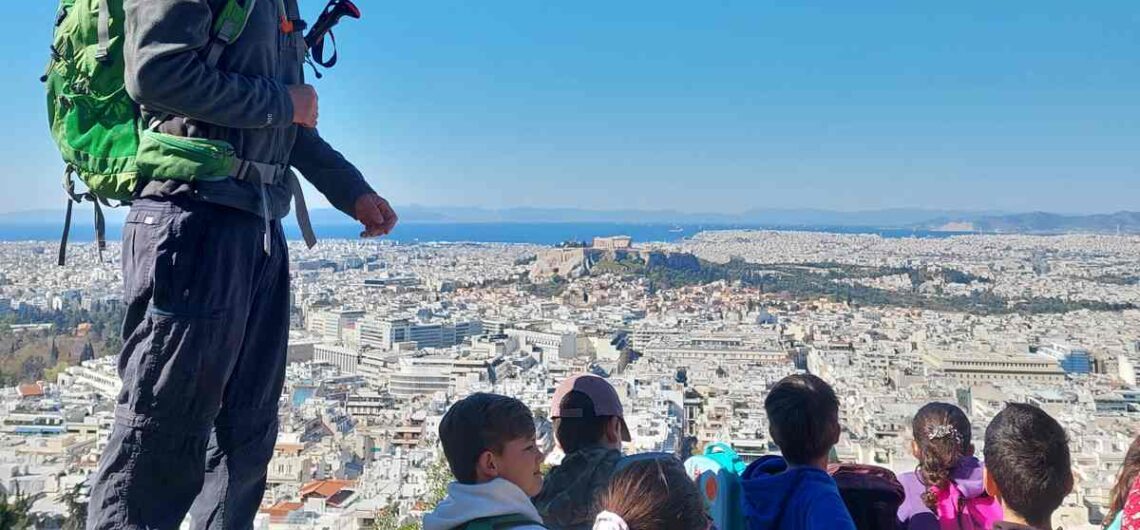
Educational program: “Exploring the hill of Lycabettus” On March 30, the first step was taken in a plan that had started before the appearance of Covid-19 in our lives. That is the educational program: “Exploring the hill of Lycabettus” that we developed, in collaboration with teachers, through which we aim to bring children into
Trail waymarking materials After having examined the technical characteristics of waymarks, let’s see what are the waymarking materials that we suggest. In the beginning, at Paths of Greece we used aluminum signs, colored with the silk print method. Their dimensions were 6,5 x 13 x 0,2cm. We used inox screws to screw them on rocks
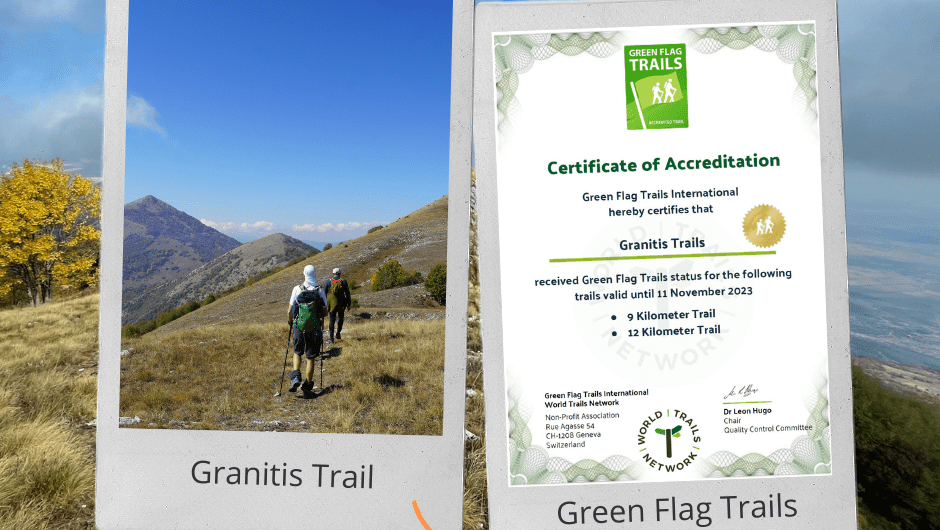
Granitis Trail Certification The second Green Flag Trails certification in Greece is a fact! The Granitis Trail has been officialy certified with the only global certification for trails, the Green Flag Trails! Thanks to the tremendous efforts of Nikos Bourlivas, who has created the Granitis Trail, and the kind sponsorship and support Raycap, the trail has been
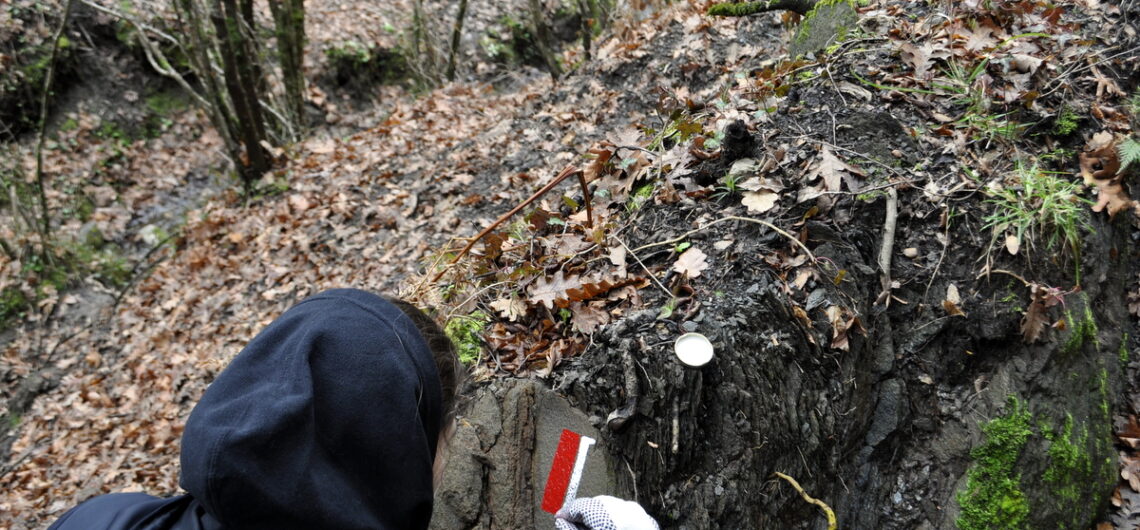
Trail Waymarking What is considered to be a good waymarking? The answer is one: “Waymarks that a hiker can easily understand and seamlessly follow”. In this article series we will attempt to present the thematic of trail signage with examples and pictures. In this article we will speak about waymarking with paint or small
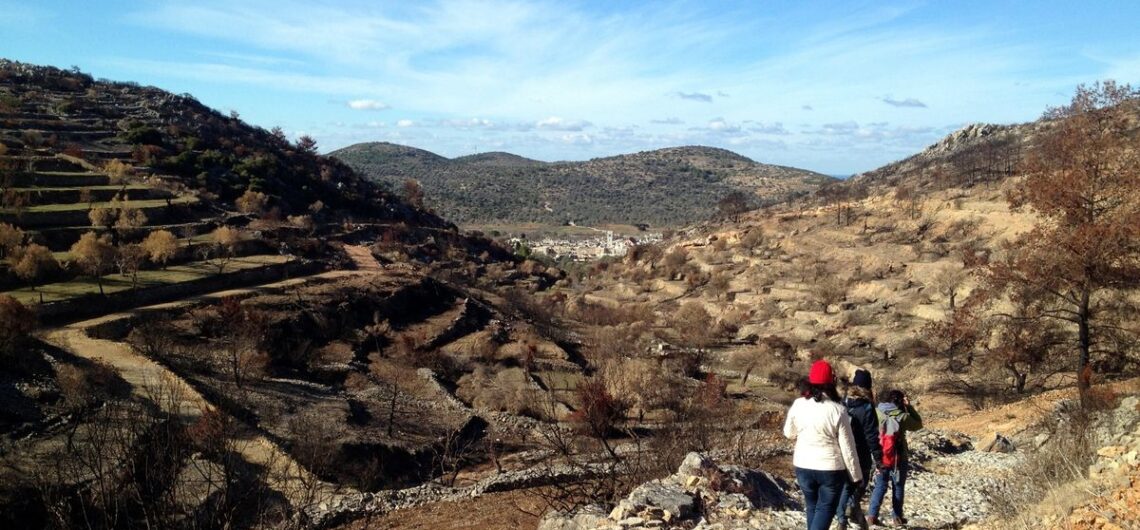
Trails and Wildfires A difficult and cruel Greek summer is slowly coming to its end. A summer stigmatized by the prolonged, exhausting heatwave in many parts of the country, but mostly by the smoke of wildfires, keeping our mind focused on the climate crisis that makes its face increasingly obvious. Our hearts and minds
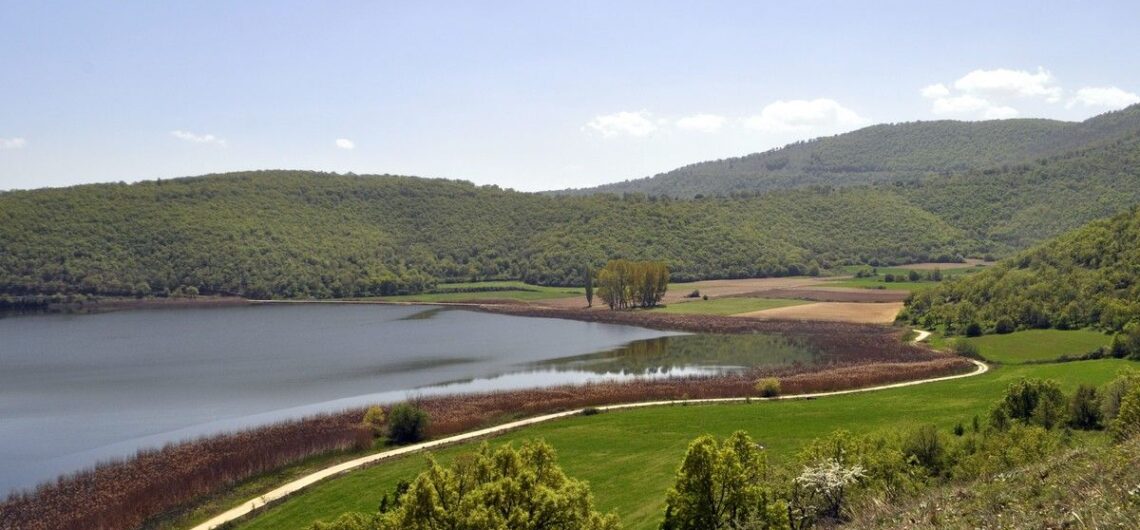
Paths of Peace This article, available in the Greek version of our website, presents the Paths of Peace project, in northern Greece. The trails are amongst the most impressive one can find in the mountainous regions of Greece. For more information visit the website www.pathsofpeace.gr
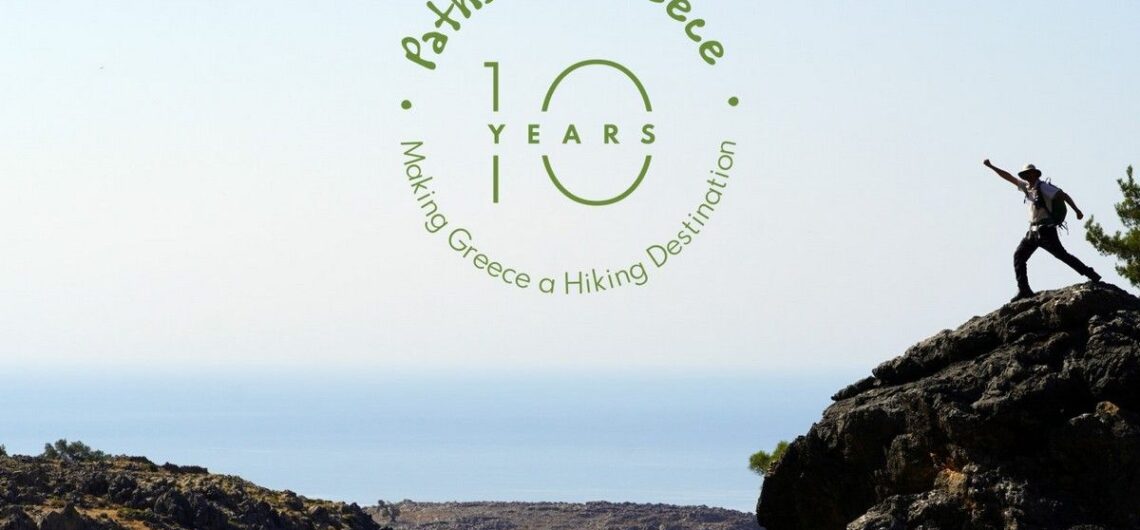
10 years Paths of Greece! In 2021 the Social Cooperative Enterprise “Paths of Greece” celebrates its 10th anniversary! We recall the experiences and emotions we experienced in this process: The emotions we felt looking for paths lost in time and the stories of the past, the stories we learned in our encounters with local
A Path for the Disabled as Skiathos Trails enter a new Era In 2021, the walking trails of Skiathos will be ready for hikers to explore this beautiful island. Their total length exceeds 100 kilometers. Paths of Greece has recently conducted the study of the project, which includes the re-shaping of the trails network, infrastructure
Trail Certifications This article is available only in Greek for the moment. It treats of the different certifications systems that are available for trails in Greece.
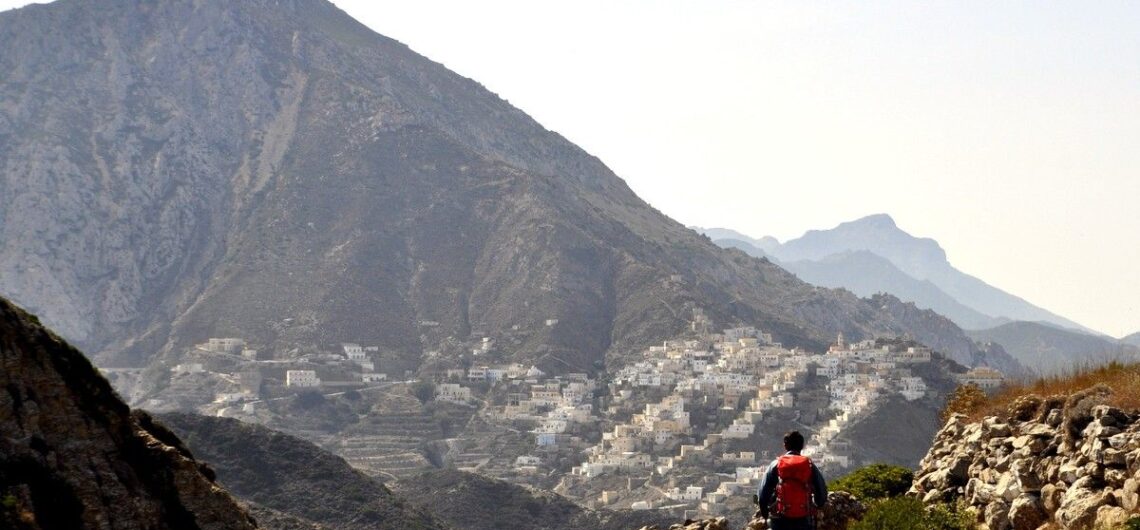
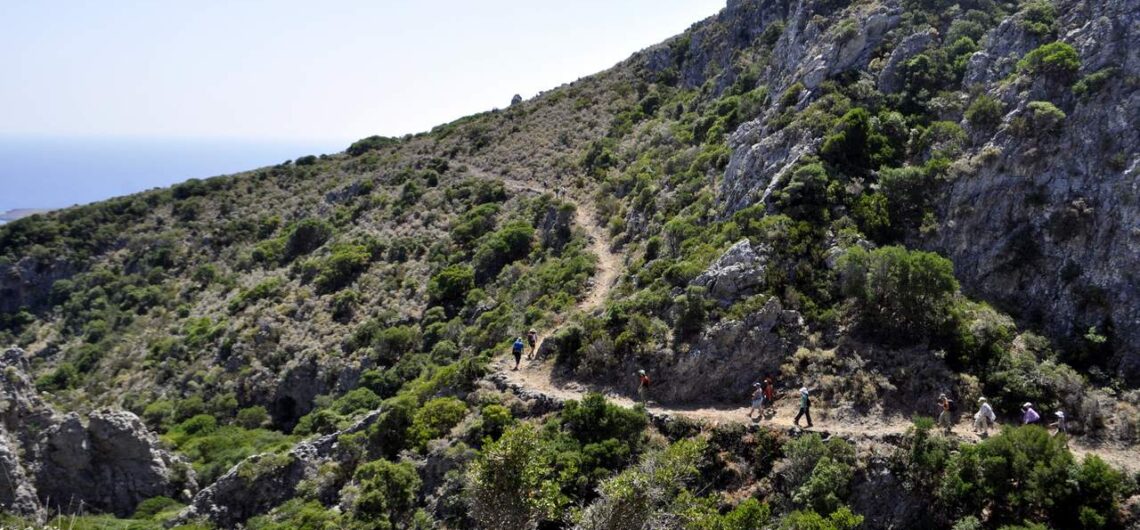
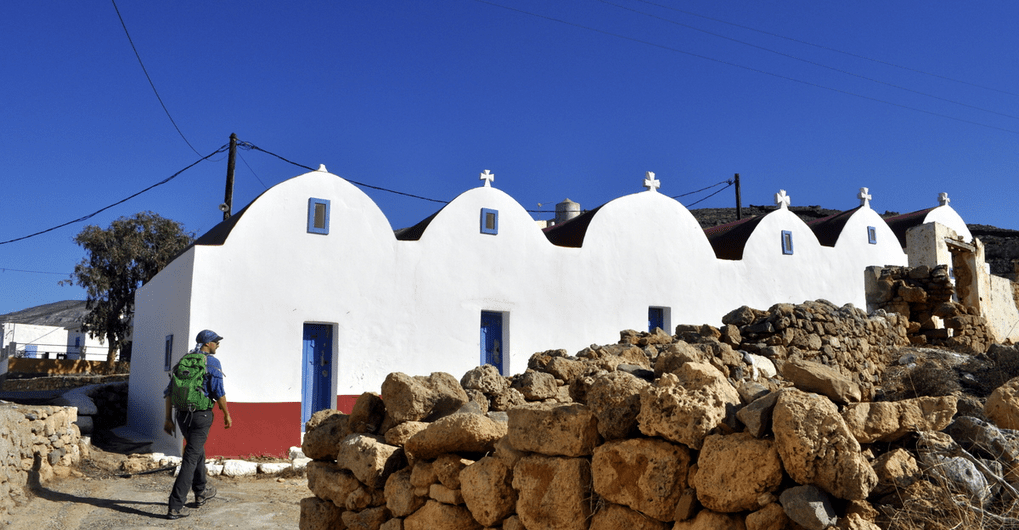
Exploring Karpathos island Karpathos is one of the most authentic places in Greece, with an incredible trails network. The article speaks about an exploration from south to north of this island. The article only appears in the Greek version (click the Greek flag at the top right corner of your screen). Here you can
(Ελληνικά) Οδοιπορικό στην Κάσο Sorry, this entry is only available in Greek.
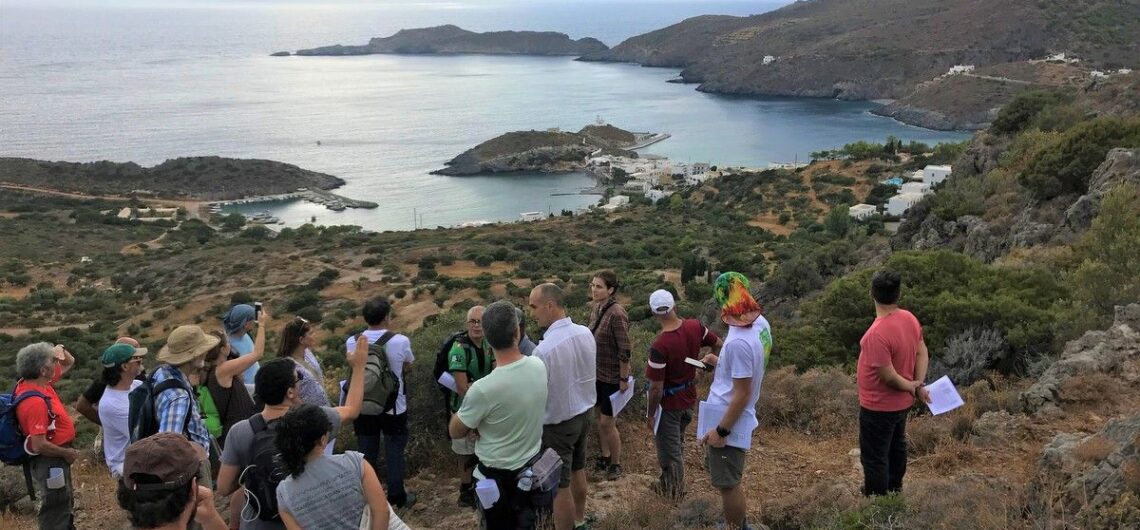
Kythera Trails becomes the 1st Green Flag certified trails in Europe In early October 2019, trail professionals from 13 countries gathered on the island of Kythera, Greece, for the training of trail auditors using the Green Flag Trails certification led by the World Trails Network. During the 7-days long course, a selection of Kythera’s trails were audited and three