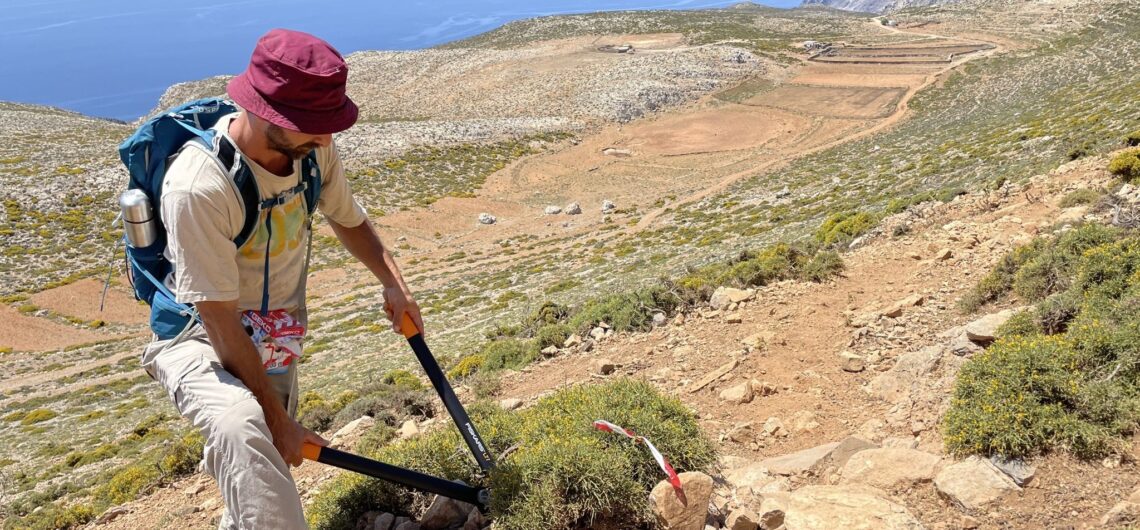
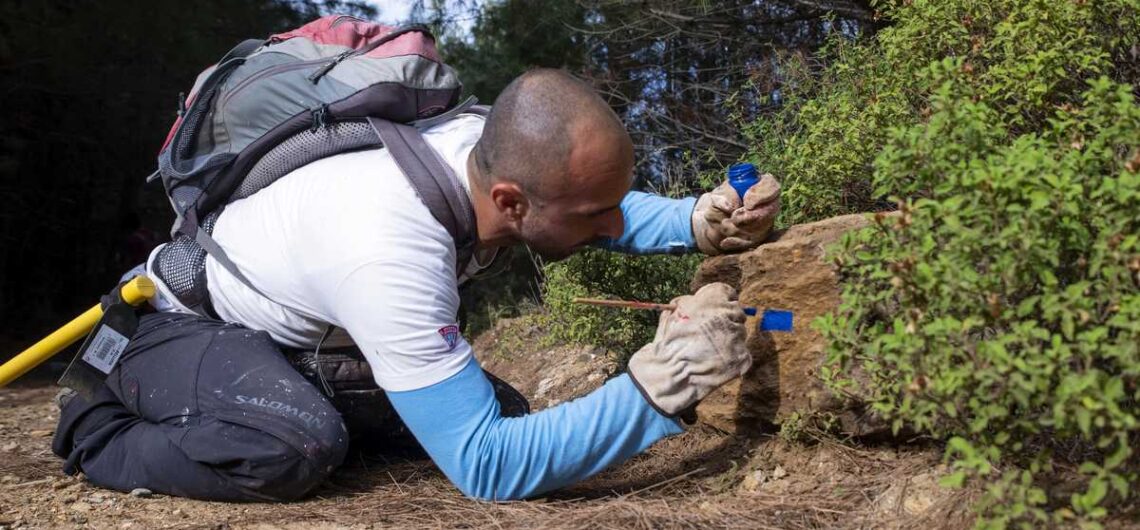
Interviewing the member of Paths of Greece, Antonis Panou, about the maintainance of hiking paths Antonis Panou is a member of Paths of Greece and specializes in waymarking and maintaining hiking paths. He has been part of our team for about 5 years and has traveled all over Greece in order to implement hiking
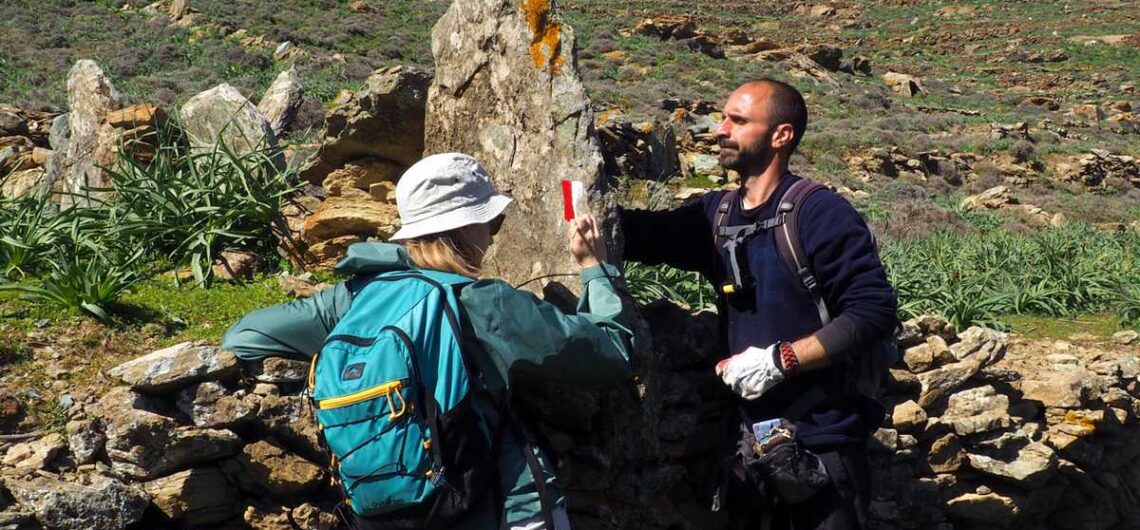
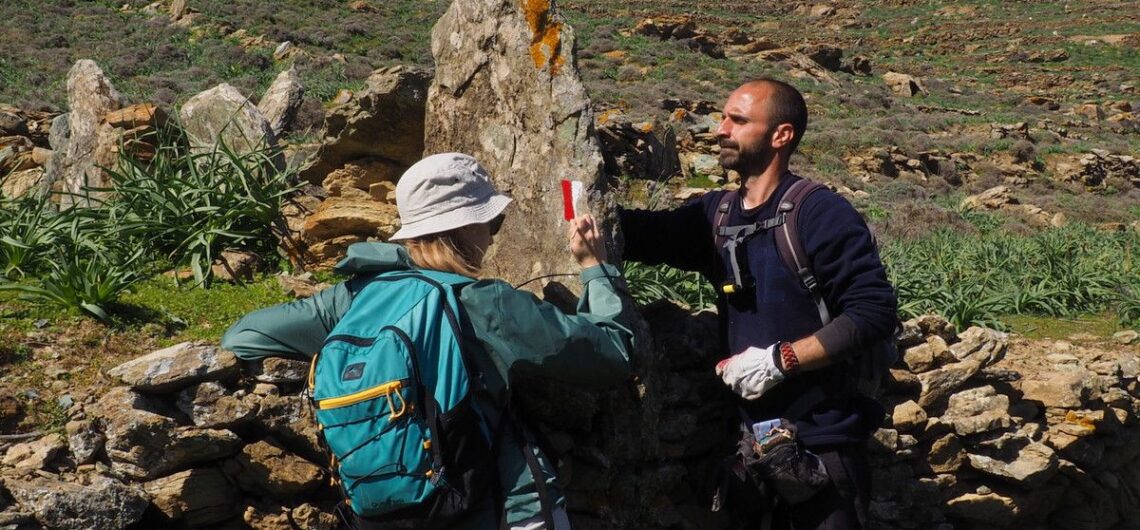
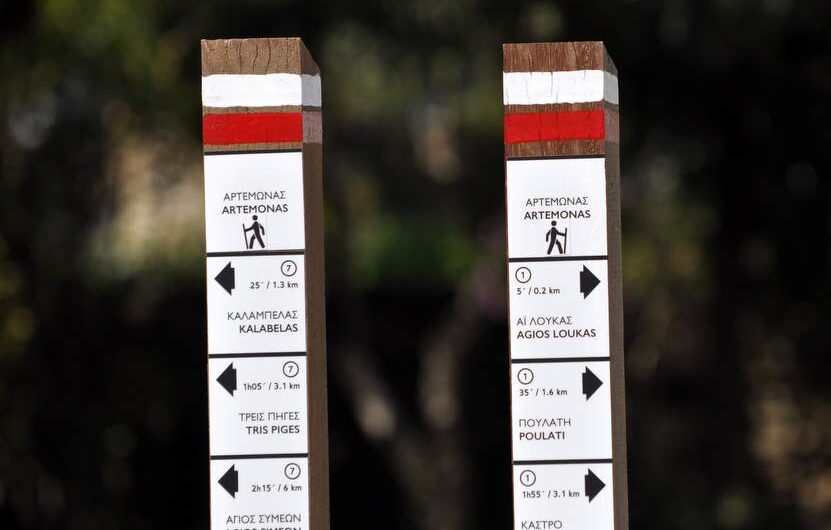
Trail Waymarking by Paths of Greece As mentioned in the previous posts, the trail waymarking we use in our hiking networks can be divided into the following categories. Direction waymarking by color Direction waymarking with color, is done by applying color to suitable surfaces within the route and follows a specific typology. Its purpose
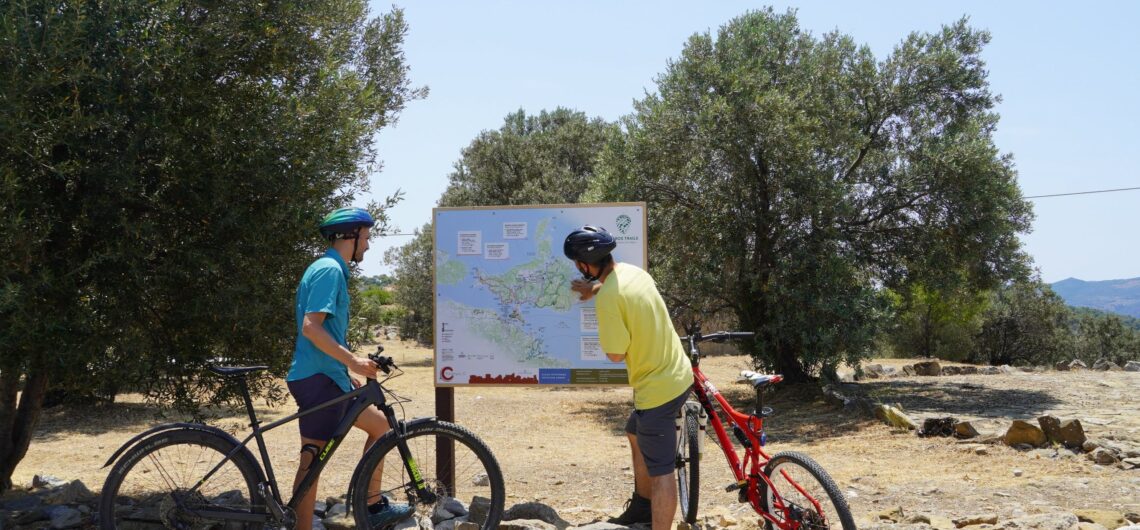
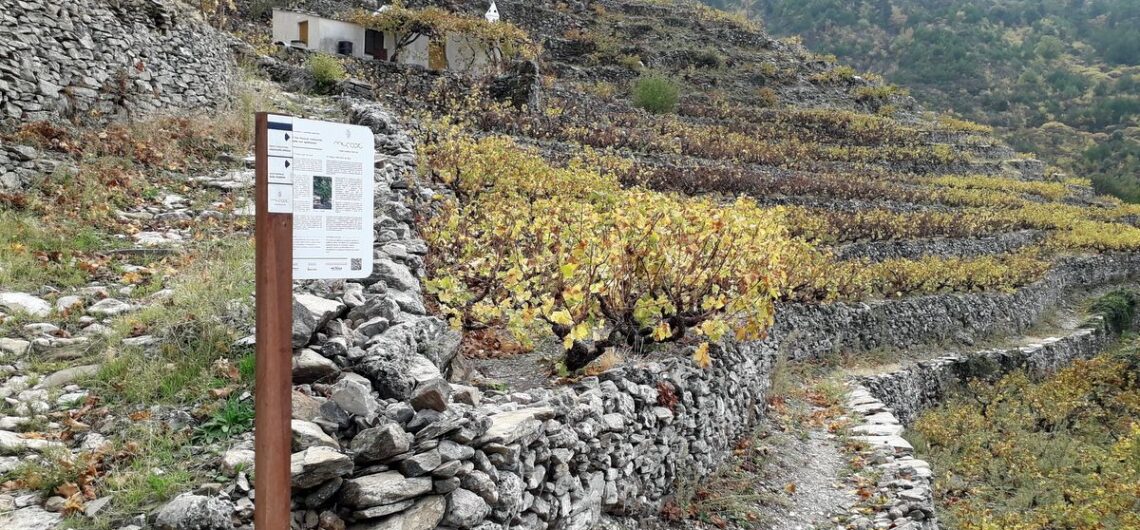
Marking of footpaths with central signs Central trail signs are large in size and act as a summary, presentation and promotion of an area’s hiking and cycling network. They are placed in central, high-traffic areas and are intended to make the hiking experience more accessible for visitors. Contents of central signs The main theme
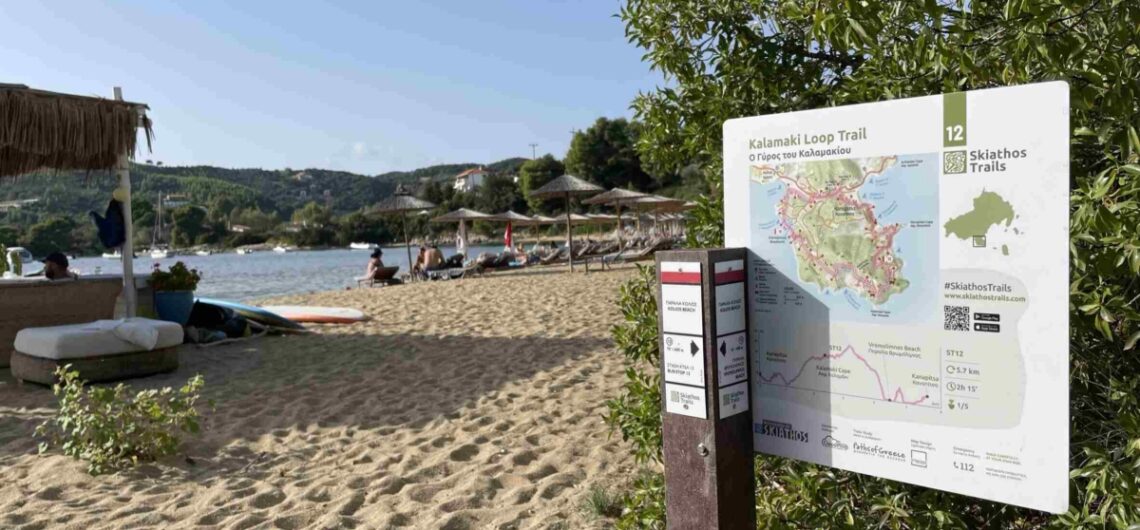
Marking paths with entry signs Marking with entry signs is required for all trails. These signs are used at the entry of each route, in locations such as town squares. They can improve the experience of hikers as well as attract new inexperienced people. Contents of entry signs Trail entry signs must provide all useful

Implementation and inauguration of Poros trails The new website of Poros trails! From the end of last year, the implementation of the Poros hiking trail began. A project conceived back in 2016 has successfully reached completion. Cleaning, walkability improvements, signposting, maps and website creation were implemented by Paths of Greece, its partners and the
2022 Recap In 2022 the Social Cooperative Enterprise Paths of Greece remained very active. Coming out of the Covid-19 era, our top priority was to expand and add to our team. Thus, now Paths of Greece fully employs 7 employees, while at the same time the collaboration with a large number of external partners
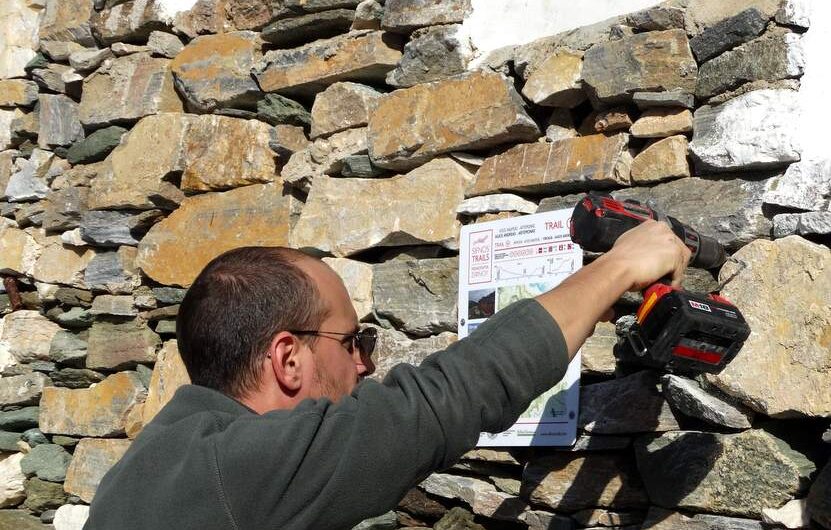
Trail waymarking materials After having examined the technical characteristics of waymarks, let’s see what are the waymarking materials that we suggest. In the beginning, at Paths of Greece we used aluminum signs, colored with the silk print method. Their dimensions were 6,5 x 13 x 0,2cm. We used inox screws to screw them on rocks
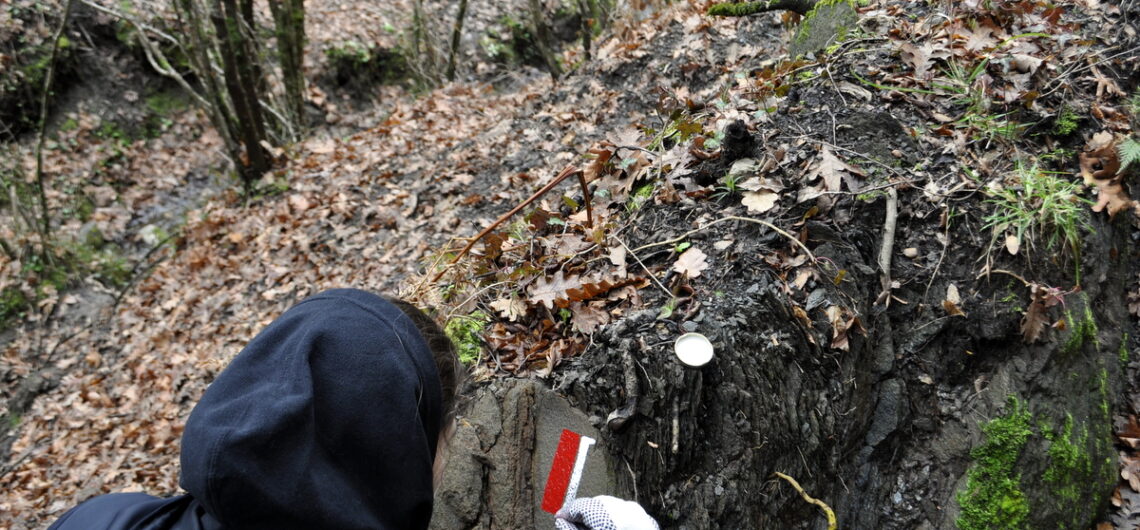
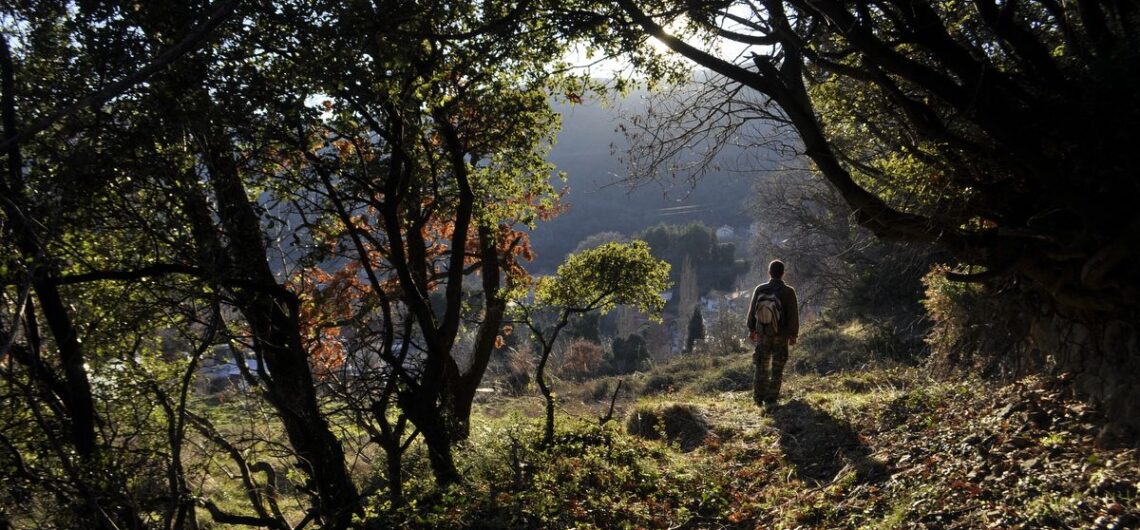
Trail Waymarking What is considered to be a good waymarking? The answer is one: “Waymarks that a hiker can easily understand and seamlessly follow”. In this article series we will attempt to present the thematic of trail signage with examples and pictures. In this article we will speak about waymarking with paint or small
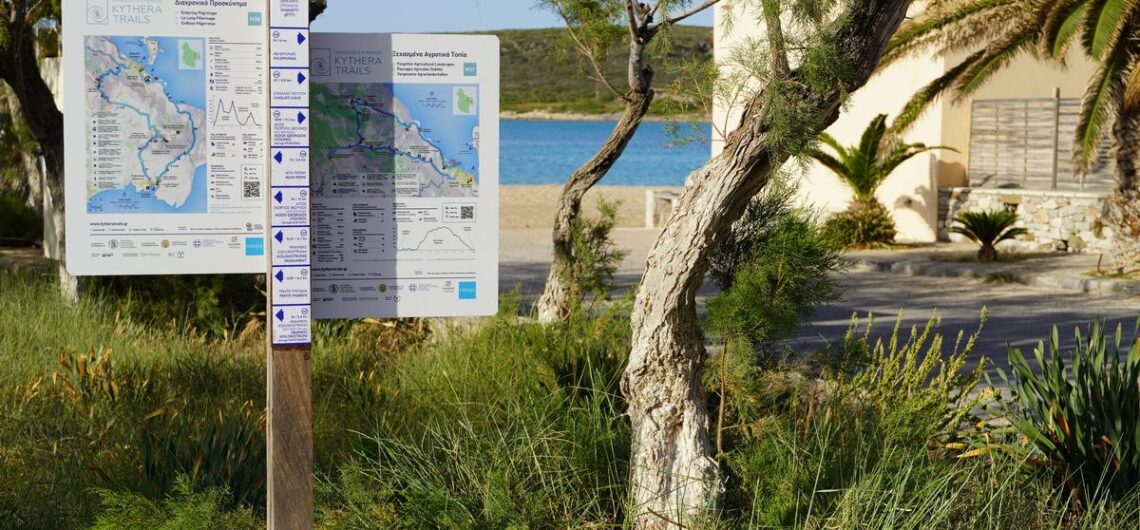
New trailhead signs for Kythera Trails New trailhead signs have been installed on the Kythera Trails Network! 24 trailhead signs have been installed in 16 traditional villages, welcoming hikers on the 11 trails of the network. The signs boast the logo of the identity of each trail, with plenty of information being at the
[fusion_builder_container hundred_percent=”no” hundred_percent_height=”no” hundred_percent_height_scroll=”no” hundred_percent_height_center_content=”yes” equal_height_columns=”no” menu_anchor=”” hide_on_mobile=”small-visibility,medium-visibility,large-visibility” class=”” id=”” background_color=”” background_image=”” background_position=”center center” background_repeat=”no-repeat” fade=”no” background_parallax=”none” enable_mobile=”no” parallax_speed=”0.3″ video_mp4=”” video_webm=”” video_ogv=”” video_url=”” video_aspect_ratio=”16:9″ video_loop=”yes” video_mute=”yes” video_preview_image=”” border_size=”” border_color=”” border_style=”solid” margin_top=”” margin_bottom=”” padding_top=”” padding_right=”” padding_bottom=”” padding_left=””][fusion_builder_row][fusion_builder_column type=”1_1″ layout=”1_1″ spacing=”” center_content=”no” link=”” target=”_self” min_height=”” hide_on_mobile=”small-visibility,medium-visibility,large-visibility” class=”” id=”” background_color=”” background_image=”” background_position=”left top” background_repeat=”no-repeat” hover_type=”none” border_size=”0″ border_color=”” border_style=”solid”
Onithe Archaeological Footpath In September 2019, we inaugurated the Onithe Archaeological Footpath, the best way to visit the archaeological site of Onithe in Goulediana village, Rethymnon, Crete. The footpath meanders through the mysterious archaeological site of Onithe, only scarcely explored by archaeologists. Walking the footpath, one can visit the most important sites of Onithe,
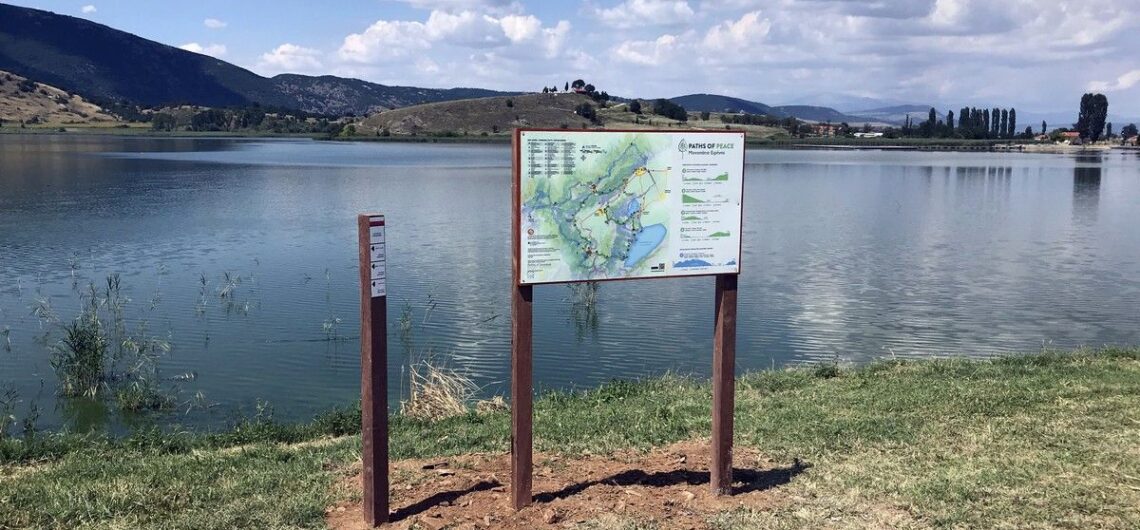
Paths of Peace In summer 2019, we implemented a multi-day hiking trail and a cycling route called Paths of Peace. It is located in the area of Florina, Western Macedonia, Greece. The trail is divided into 4 hiking days, and it starts and ends at Lehovo village. It crosses the most important natural and

Ithaca Trails Ithaca Trails, the official network of hiking trails of Ithaca island is now a fact. Together with the Municipality of Ithaca, Paths of Greece has implemented the first set of routes – 50km, 7 trails. These trails have been cleared and sign-posted, and will soon be presented through a website and an
Tinos Trails Tinos Trails, the official hiking network of Tinos island is a fact! 152 km of trails, planned according to the hiker needs, invite you to discover the nature and culture of this beautiful island of the Cyclades. Tinos Trails is a project of the Municipality of Tinos, in co-operation with Paths of
Apollo Trails We have just inaugurated the Apollo Trails, a small but wonderful trail network on Mountainous Messinia (Peloponnese). The trails start at the village of Abeliona, and link the neighbouring settlements of Neda, Petra, Agios Sostis, Skliros, to the UNESCO Temple of Apollo Epicurius, the Temple of Pan, the springs of Neda, numerous stone-built thresholds,
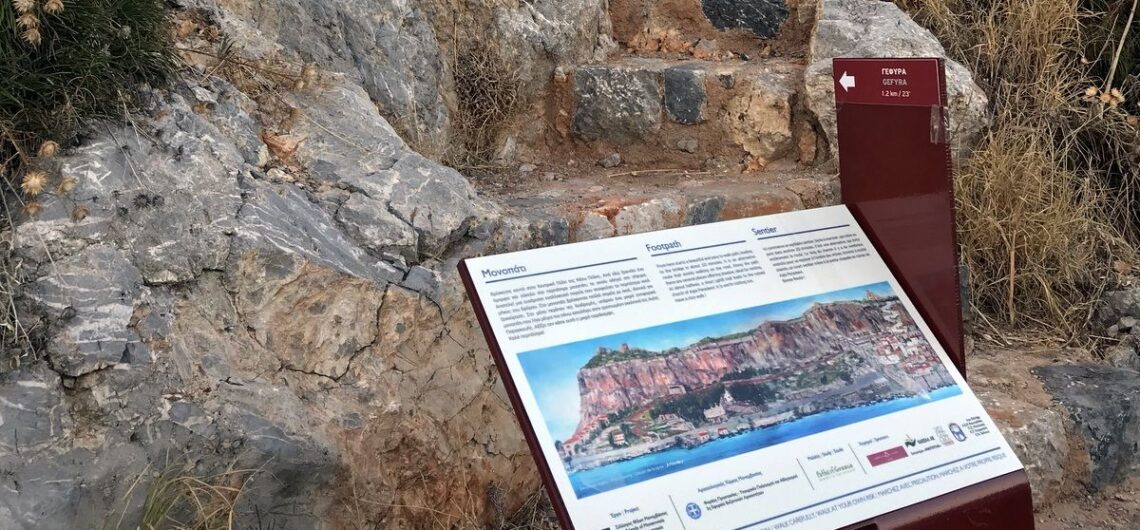
New waymarking in Monemvasia We have recently installed new trailhead signs in Monemvasia, from durable, 10-year guarantee boards. We have also way-marked a short trail that links to the Central Gate of the Lower City. The project has been completed with the collaboration of the Association Friends of the Castle of Monemvasia. For more
Sign-posting on Sifnos Santa Claus has brought to Sifnos new trailhead signs! That was the las step to complete the sign-posting of the Sifnos Trails network. The boards used figure maps from Zoe Gozadinou, information about each trail and a few pictures. They aim at aspiring random people to start walking the trails and of
Sifnos Trails: an amazing 100 km to walk! In 2015, the Municipality of Sifnos has asked us to update the trails network of the island. During our first visits, we did realise that the previous way-marking attempts were not uniform, and there were a lot of missing marks. In addition, many routes would start from
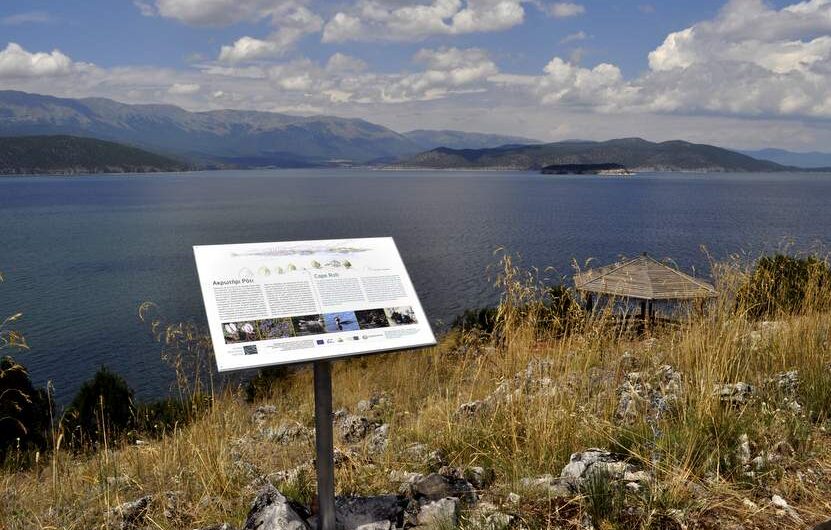
Prespa lakes: The paths of Nature and History The lakes Prespa are a unique area where Nature and History co-exist in a peacefull way. In co-operation with the Society for the Protection of Prespa, and within the framework of the LIFE “JunEx” programme, we have sign-posted 2 trails in the area. The JunEx programme consists
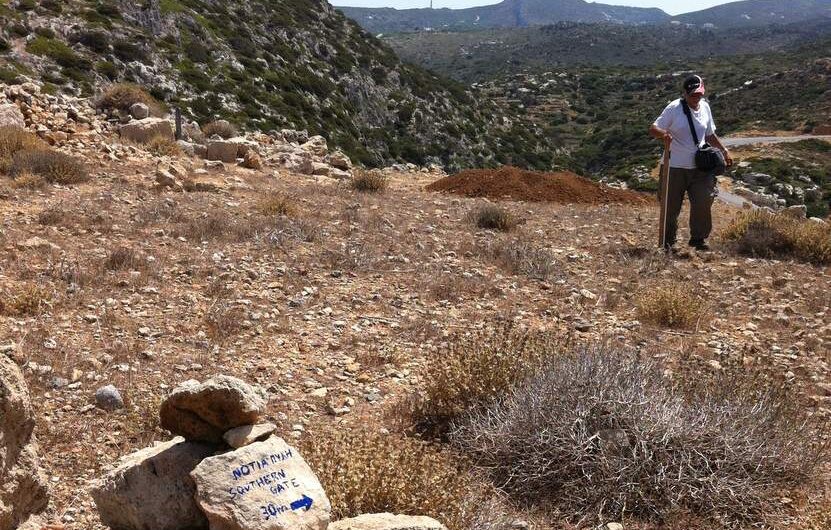
Sign-posting trails in Antikythera! In August 2014, we have visited the remote island of Antikythera for a 15th consecutive year. Antikythera is 2 hours by boat from any close land, has about 30 inhabitants and is considered to be on of the most remote Greek islands. It is an amazing little island, offering astonishing wild